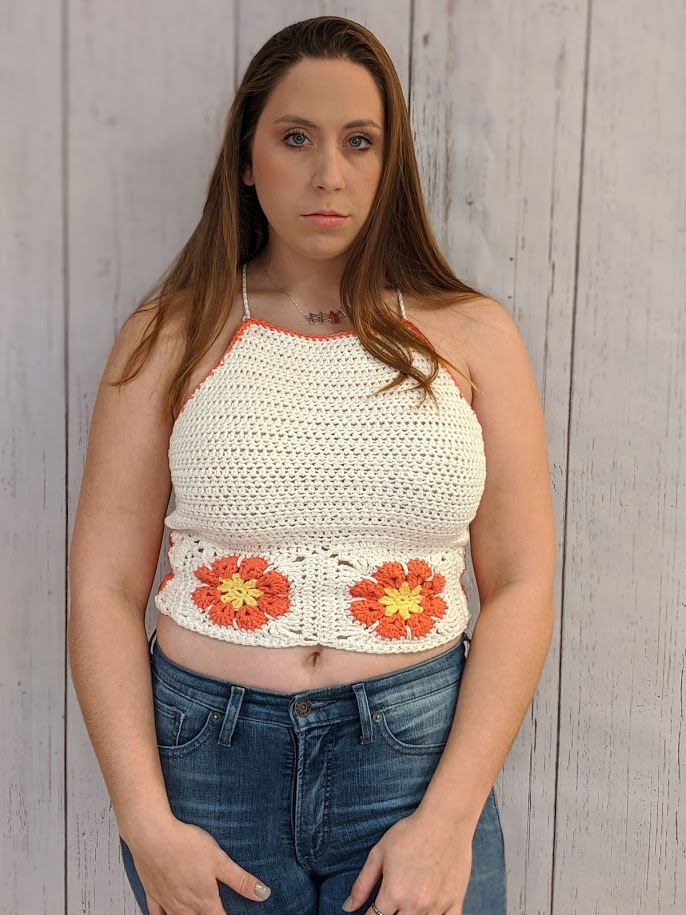
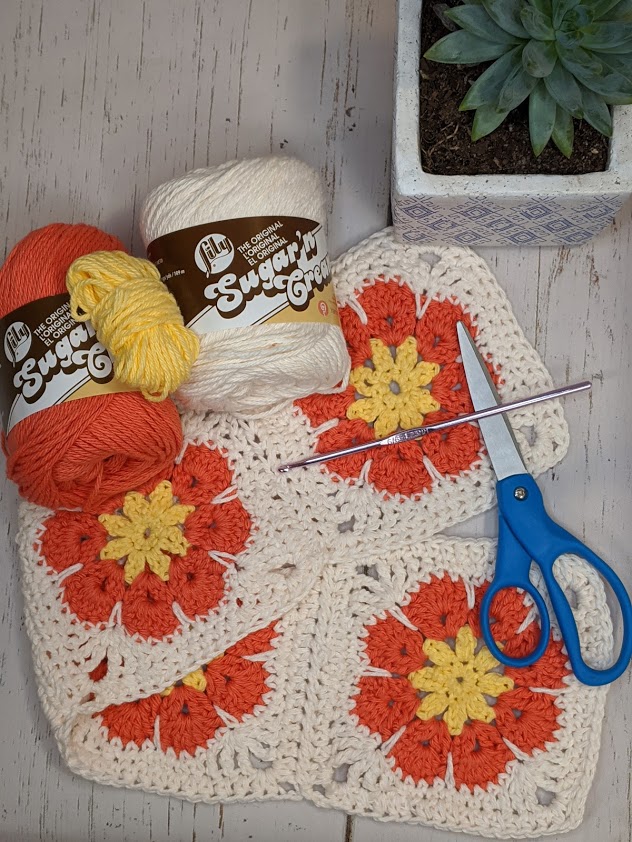
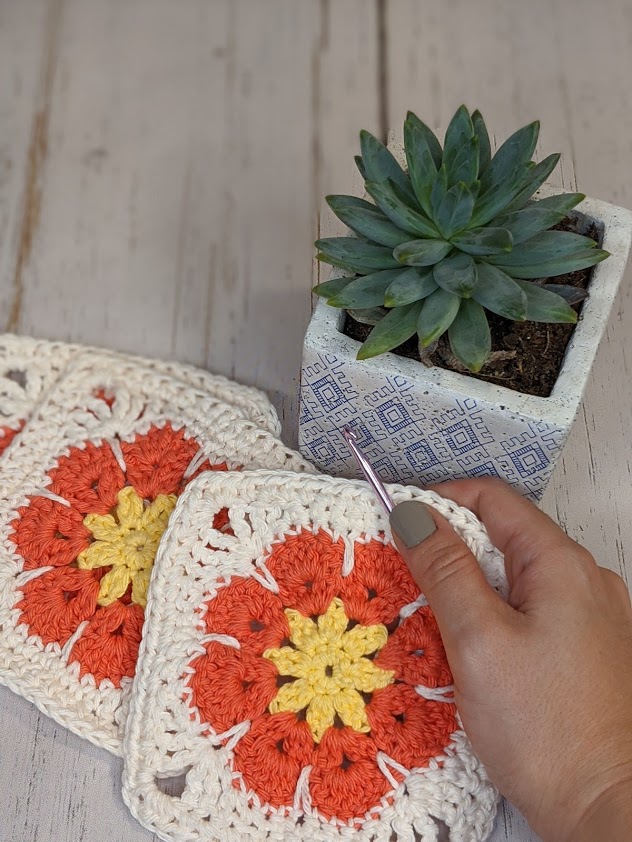
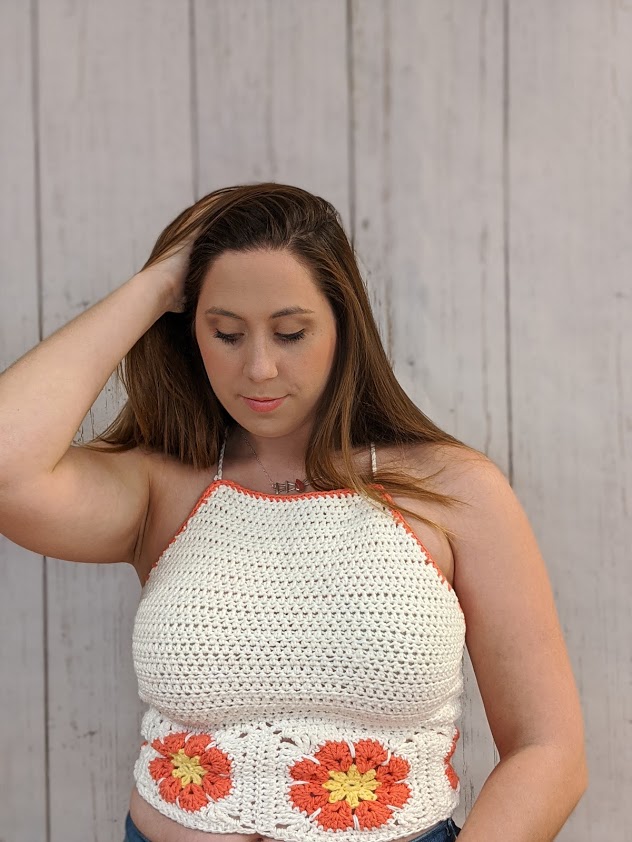
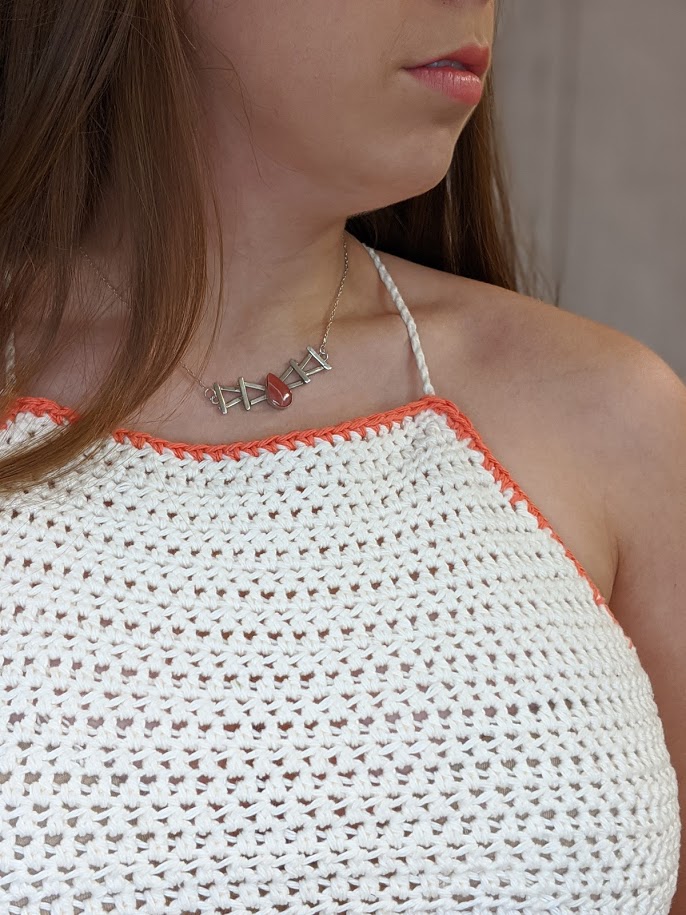
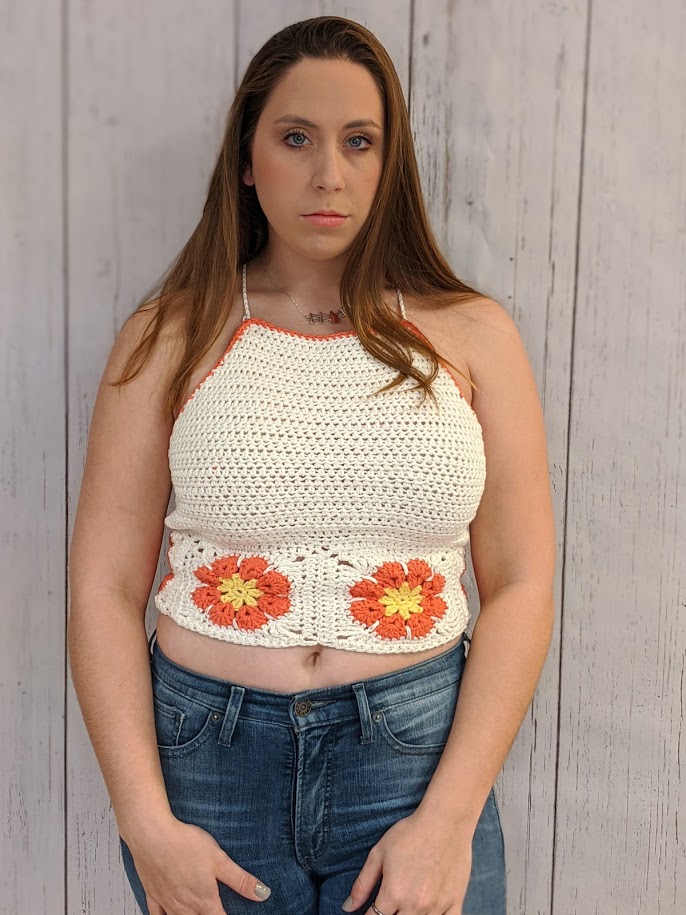
IT IS FINALLY HERE! This is my first EVER free pattern on my blog, and the first pattern in a series of flower inspired crochet items. I am really looking forward to making and sharing more patterns with you all. I am so happy about how this turned out! There is a video for this upcoming, so stay tuned!
(This post may contain affiliate links. The links provide me with a small percentage of commission but do not cost you anything extra. Using these links helps show support for my blog and allows me to be able to continue to post great content for you guys! Thank you guys so much for the love…happy making!)
Material List
-Three colors of Lily’s Sugar and Cream (I used less than 1 skein of Yellow for the center of the flower, less than one skein of Tangerine for the petals, and TWO skeins of Soft Ecru for the base of my halter)
-Scissors
-Tape Measure
-4.25 MM Boye G-6 sized Crochet Hook
Stitches Used/Abbreviations
-ch- Chain
-sc- Single Crochet
-slst- Slip Stitch
-HDC- Half Double Crochet
-DC- Double Crochet
-Spike Stitch (I have a special video for this)
-TR- Triple Crochet
-inc- Increase
-dec- Decrease
Notes
-You will be making 4 granny squares for this project.
-If you would like the gauge to be smaller, use a smaller hook!
Band
Make a Magic Ring
Row 1: ch 1, sc 8 times into ring slst into first sc
Row 2: CH 3, DC into same space, CH 1 (2 DC into next st, CH1), repeat six more times. SLST to CH 3 space. Fasten off and tie in ends.
Row 3: Join new color with SLST to any CH 1 space. CH 3, DC in same space, CH 1, 2 DC in same space. (Skip next two stitches, DC 2 in next st, CH 1, DC 2 in same space). Repeat () 6 more times. Join with SLST to CH 3 space.
Row 4: SLST over to CH 1 sp, CH 3, DC 5 into same sp, sk 4 st, (6 DC in CH 1 sp, sk 4 st). Repeat () 6 more times. Fasten off and tie in ends.
Row 5: Join new color with SLST to any 2nd DC. CH 1, SC 1 in same space. 4 SC, spike st in between petals of row 3 (picture included). (SC 5, spike st in between petals). Repeat () 6 more times. SLST to 1st SC made.
Row 6: CH 1, (SC 2 starting in same sp as CH, HDC 1, DC 1, sk 1 st, make 2 TRC in same sp, ch 2, 2 TRC in same sp -this should all be done in a spike st-. Sk 1 st, 1 DC, 1 HDC, 3 SC). Repeat from () 3 more times. Sl sl to 1st SC
Row 7: CH 1, HDC in same ST, HDC 5, 2 HDC in CH 2 sp, CH 2, 2 HDC in same SP, (12 HDC, 2 HDC in CH 2 sp, CH 2, 2 HDC in same SP) Rep () 2 more times, HDC 6, SLST to first HDC, tie off and weave ends.
Make 4 of these Granny Squares!
Fasten the 4 Granny Squares together into one long band.
Halter Top
Before you begin, measure from the bottom of your chest to the top. Picture is included for reference. Take that number and multiply it by 1/3. THEN multiply that number by 2. This is the number of no inc rows you will need. For example, I measured 9 in from top to bottom. 1/3 of that is 3 inches, so I need 6 inches of no decrease. (This measurement is if you would like about the same length as shown. If you would like a longer or shorter shirt, add or take away rows of no dec)
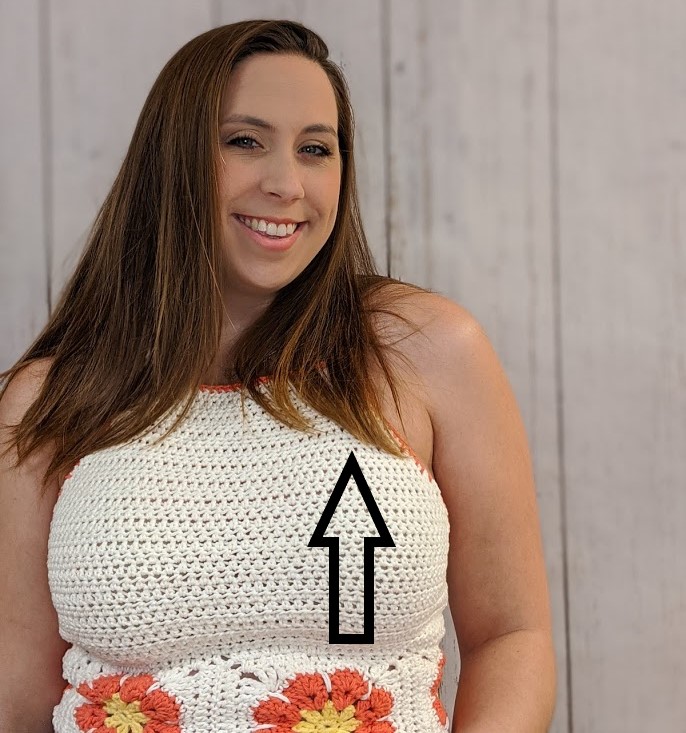
(See chart below for examples.) The number of no decrease rows of your halter top will be determined by this number. (Some rounding may be necessary, this isn’t an exact science. Mostly up to preference!)
| Full Measurement of Chest | 1/3 of that measurement | Rows of no dec |
| 2 inches | About .66 inches | 1 to 2 depending on preference |
| 3 inches | 1 inch | 2 rows |
| 4 inches | About 1.33 inches | About 3 rows |
| 5 inches | About 1.66 inches | 3 to 4 rows |
| 6 inches | 2 inches | 4 rows |
| 7 inches | 2.33 inches | About 5 rows |
| 8 inches | About 2.66 inches | 5-6 rows |
| 9 inches | 3 inches | 6 rows |
With your final color, SL ST onto the end of the band and ch 1
Rows 1-?: SC 72 times across the top of the band. Ch 1 and turn. (You will repeat this row as many times as your measurement indicates) (as I said before, my overall measurement of 9 inches means I will do 6 rows of HDC with no increase. If you only need one row, yay! Move on!)
Repeat that row until your number has been reached.
For the next 24 rows: HDC 2 tog until the last two ST, HDC2tog, ch 1, turn. (Decrease two stitches each row)
On the 24th row of decreasing every row, you should have 24 stitches!
After your final decrease row DO NOT FASTEN OFF! CH About 150 onto where your last HDC was. This number can vary for you depending on your size—make sure that the number you ch can reach around your back in the way that you hope. I will be showing how to do it the way that I like! This means that I create two long chains that will criss cross around my back and tie at the bottom.
After you have found the perfect number of chains for your straps, fasten off and make an identical number of chains on the other side of the top of your halter. Fasten off.
Border
Attach whichever color you would like to be the border to where your first HDC with no dec was. Ch 1.
Go around your halter top however long you would like! I did not include my granny squares, and stopped in the same place that I started, but on the opposite side. (I think it would also be very cool to continue the border around the granny squares at the bottom too!) Fasten off. This is just one row
Straps
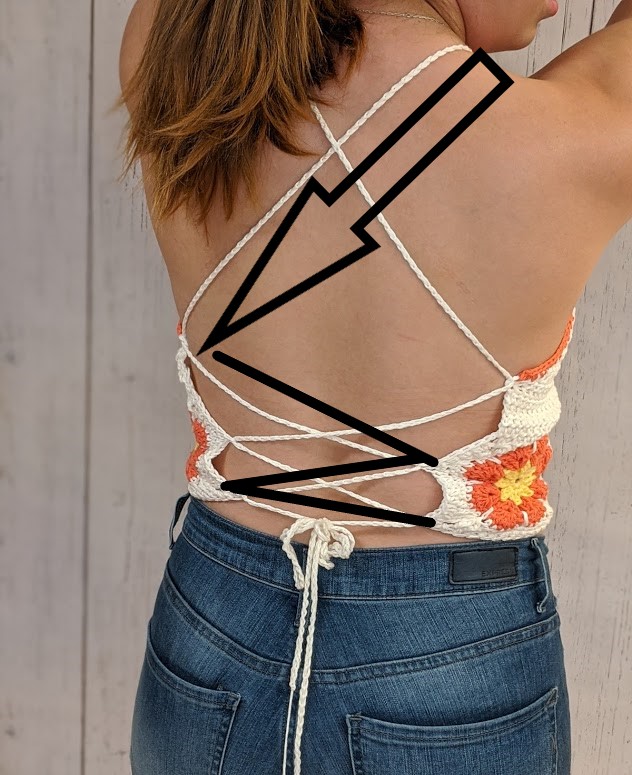
Next, you are going to loop your straps through the back. I have attached a picture that shows you how I did it. Repeat for both sides (just flip flop my lines!)
Now, it is time to weave in all of your ends! I recently found yarn darners that are SO easy to thread, so I recommend those.
AND YOU ARE DONE! Please do not hesitate to reach out to me with questions, and with your finished products! I would LOVE to see them! The PDF version of this pattern (with more helpful pictures) will be available for purchase in my Etsy shop coming soon!
